Creating and sending an E-card is easy when you follow these simple steps:

Next, you’ll find each step described using screenshots.
Creating and sending an E-card is easy when you follow these simple steps:

Next, you’ll find each step described using screenshots.
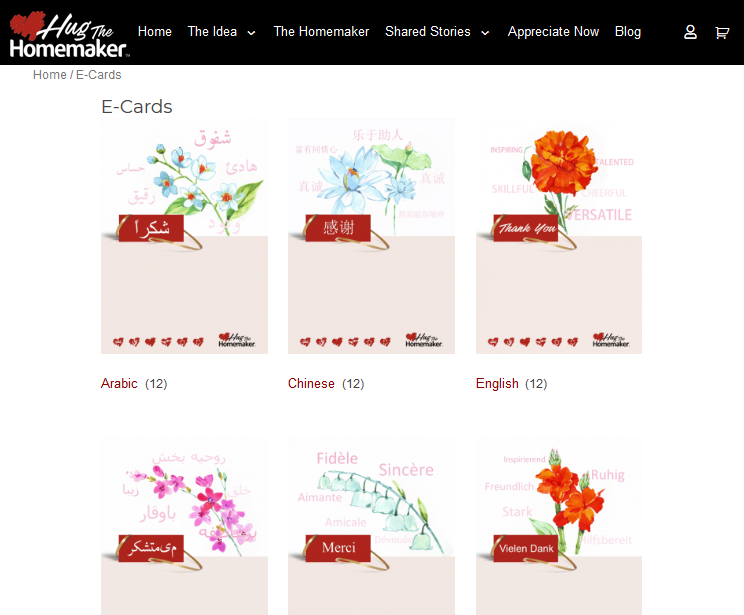
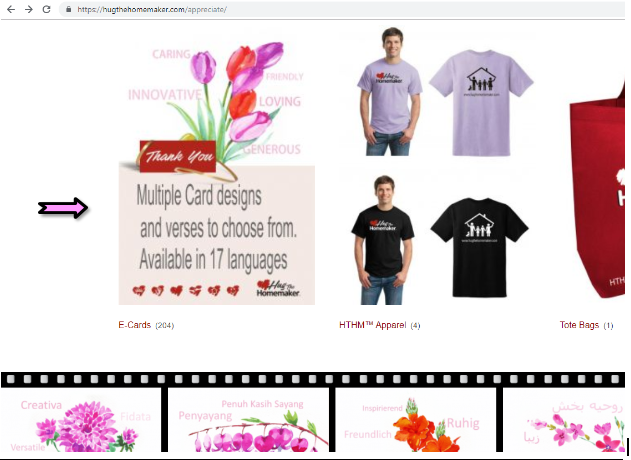
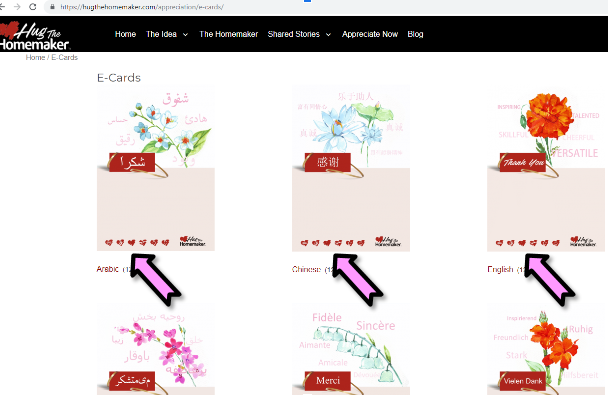
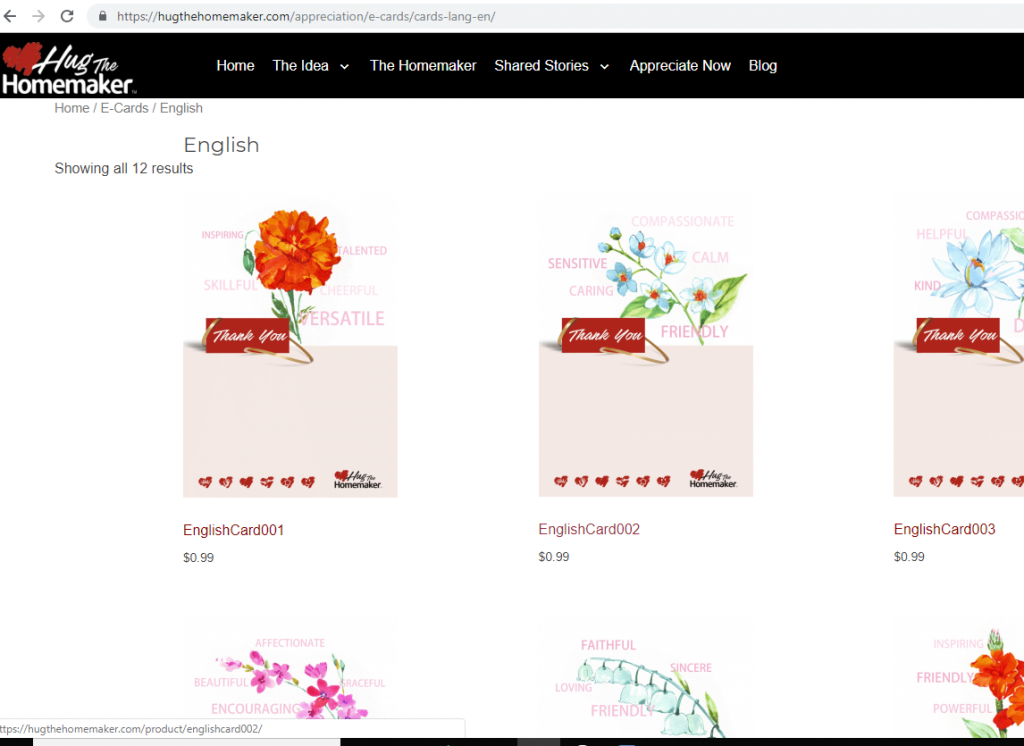
From the top navigation bar, select 'Appreciate Now'

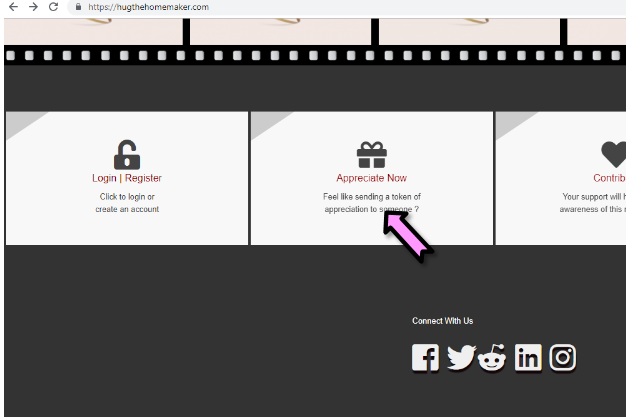
From the footer, click on the Appreciate Now box.

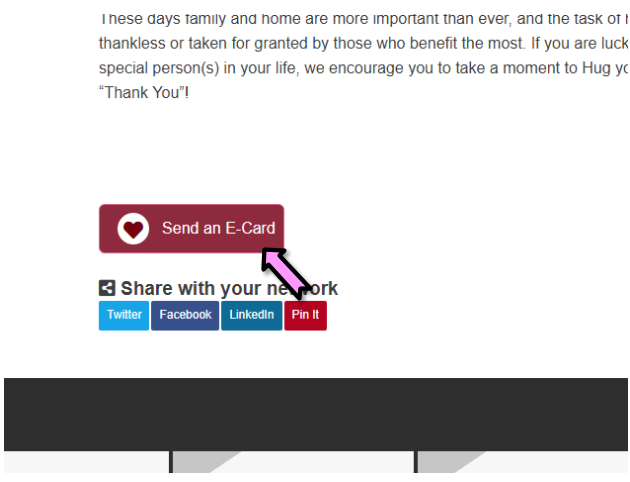
Or by Clicking on the Send an E-Card button at the bottom of posts and pages.

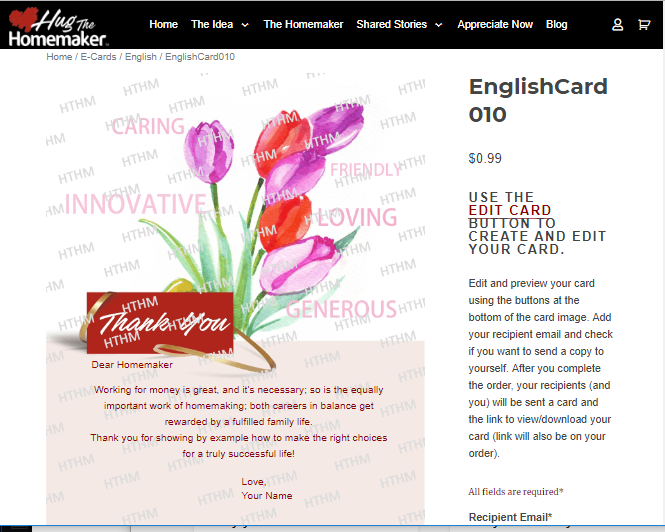

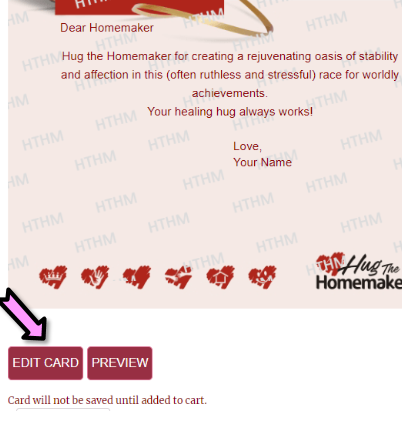
Start by clicking on the Edit Card button located on the bottom of the card image.

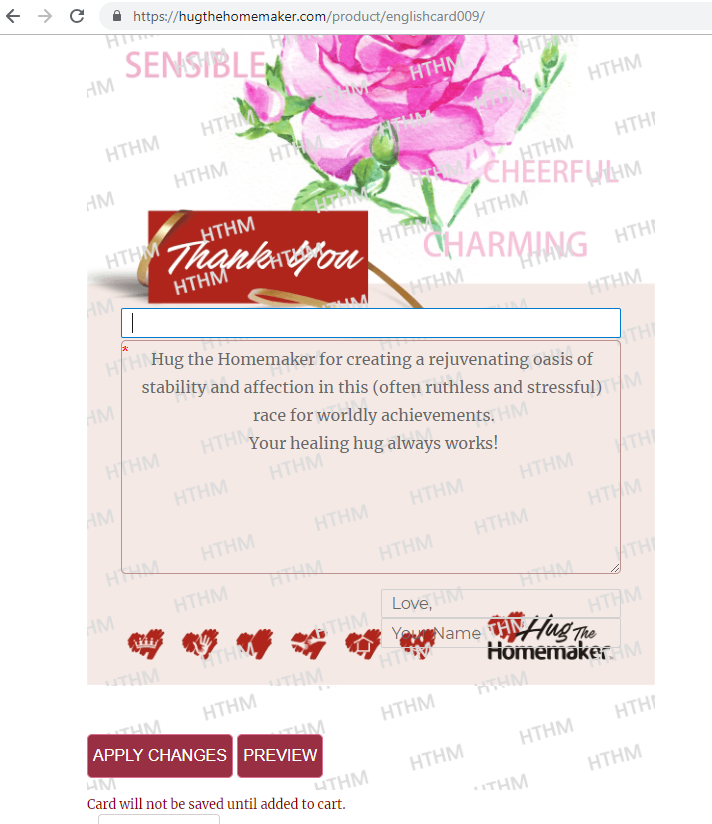
First field(Optional) - Who the card is addressed to
The cursor will be on the first field – called salutation – where you can address the recipient to. E.g. Dear Mom or Dear Abuela, or you can leave it blank
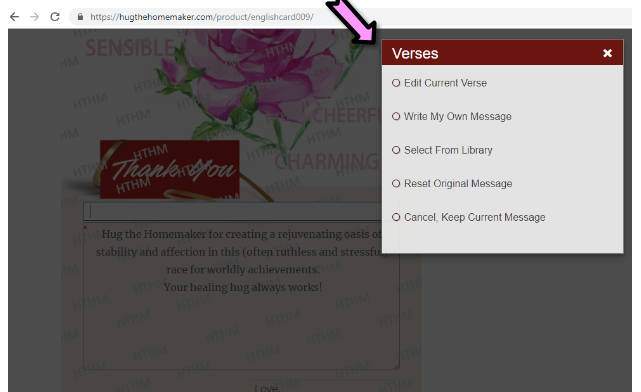
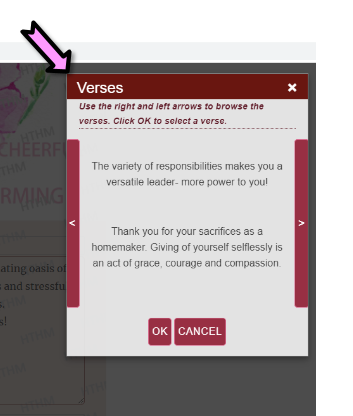
On a keyboard you can either use the Tab key or directly touch into the verse area. That will open up the options pop up where you can select whether you would like to edit the already filled in (default) verse, or write your own or select from our verse library.
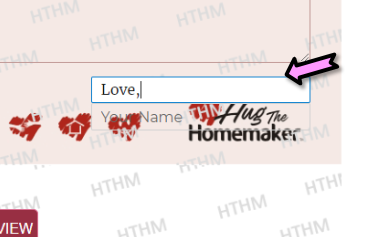
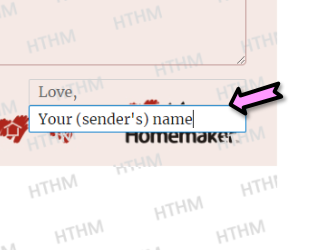
There are two closing fields provided at the bottom of the card so you can sign your card, both fields are optional.
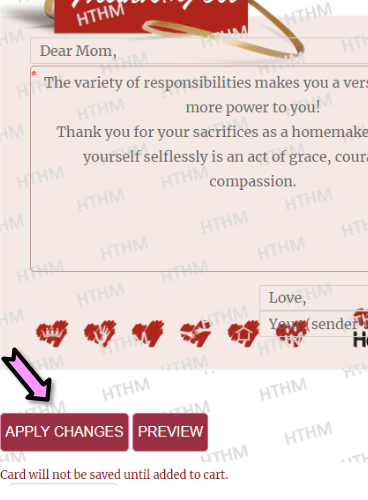

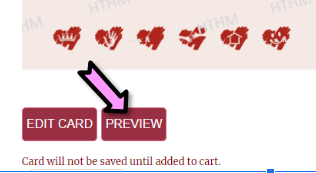
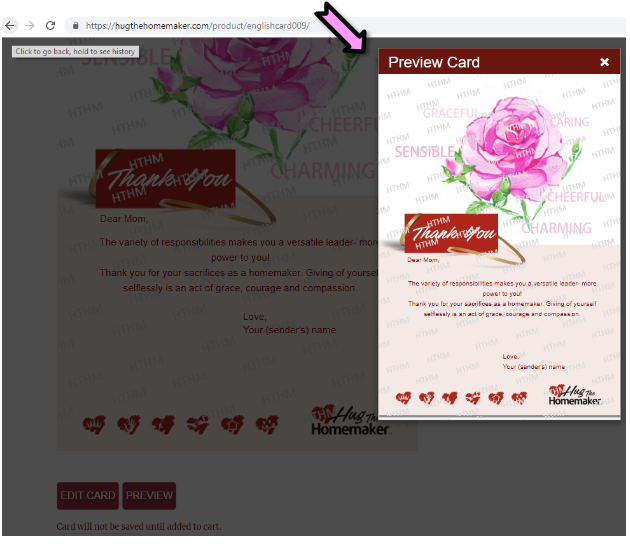
Use the "Edit Card" button if you wish to make changes after you preview the card, or continue to add to cart.

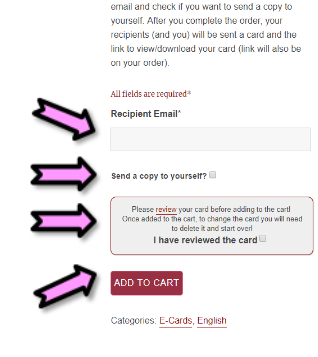
If the Preview seems to be ready to send, then enter Recipient’s Email address, select the checkbox if you would like a copy of the card delivered to your email also, acknowledge the ‘I have reviewed the card’ checkbox and finally, select the ‘Add to Cart’ button.
